
There are two main ways to send mass emails in Outlook. The first is completely free and built into Microsoft Outlook.
The second is with an outreach tool that’s designed to help you send personalized emails at scale and is best for anyone reaching out to sales prospects.
In this guide, I’ll walk you through both methods and show you the best way to automate sending bulk emails from your Outlook inbox.
Let’s dive in.
Sending Mass Email from Outlook: A Primer
There are a few good reasons to send an Outlook mass email to your customers, prospects, or audience.
Firstly, it’s time-saving. If you need to send 100 emails, writing them out one by one is going to take hours, potentially even multiple days if each one requires personalization.
As well as that, it’s going to reduce the chances of making errors. If you have to write your emails out individually, there’s a non-zero chance that you make an error in a couple of them, which is going to reflect badly on your company.
However, the majority of Outlook users rely on it for one-to-one, intra-team communication or conversations with their sales prospects and customers. That means the bulk email feature included in Outlook has limitations.
Considerations Before Sending Your Mass Emails from Outlook
Before sending mass emails from Outlook, consider these things:
Sending volume: How many emails do you need to send? If it’s a one-off occasion where you need to send 10-50 emails, then Outlook’s built-in mail merge feature may be enough. However, if you regularly send personalized mass emails to large email lists, you’re going to need a standalone email sequence tool that can help improve deliverability – if not, it won't be long before Outlook flags your account for sending too many emails and you start landing in the spam folder.
Reason for sending your bulk emails: You shouldn’t be using the built-in Outlook mass emailing tool to reach out to cold sales prospects. It’s not ideal for that. One situation where it would make sense would be to send a one-off email to your team that requires some personalization. Or other small personalization tasks, such as a form letters personalized by recipients first name.
Personalization required: This is a key part. When you’re sending emails – especially for sales reasons – you need to use in-depth personalization to stand out. Outlook’s mail merge software is effective for basic personalization such as for the greeting line, but if you’re trying to stand out in a cold prospect’s inbox, it’s not the best solution.
Next, let’s look at how you can start sending bulk emails directly from Outlook.
How to Use Outlook’s Built-In Mass Email Tool
The first way to send bulk emails from Outlook is by using the integrated tool.
Here’s how it works.
First, you’ll need to create mail merge document, which can be done with a CSV file in Excel. It should contain all of the people you’re going to reach out to and any information you want to include in the email.
Then, you’ll open Microsoft Word, go to the Mailings tab, select the ‘Start Mail Merge’ option, and choose ‘E-mail Messages’.

Source: Microsoft
Next, you’ll need to select your recipient list. This is the spreadsheet you’ve created.
Once you’ve selected that, you can write your email templates in Microsoft Word as plain text. You can choose to ‘Insert Merge Field’, which will let you add custom fields taken from your prospect spreadsheet, such as {{prospect.first_name}}.

Source: Microsoft
This is key, as when you send your email, they’ll auto-fill from the spreadsheet and be unique to each recipient.
Before you send your bulk email campaign, you can preview your results to ensure your merge fields are working correctly.

Source: Microsoft
If it looks good, you’re set to send.
Finally, you’ll need to go to ‘Finish & Merge’, then choose ‘Send Email Messages’.

Source: Microsoft
This will automatically send your bulk emails from your account to the Outlook contacts in your spreadsheet.
As you can see, it’s not too complicated to send your mass emails from Outlook.
What’s Missing from Outlook’s Mass Email Tool
Outlook’s mass email tool and the mail merge features are great to have. However, there are some limitations and it’s not going to work for everyone who needs to send large email campaigns. Here are some drawbacks to be aware of:
1. No Follow-Ups
Outlook’s mail merge works for sending a one-off email message to multiple recipients.
However, if you’re using it for anything sales or outreach related, there’s a major downside. You can’t automatically follow up with recipients if they don’t reply.
Considering over half of replies to cold email campaigns come from a follow-up, this is going to be a deal breaker.
To send email follow ups automatically, you have to use a cold email tool, such as QuickMail (Get started with a free 14-day trial).
2. No Deliverability Improvement Tools
If you’re sending regular mass emailing campaigns to your Outlook contacts, there’s a risk that email service providers (including Outlook) will treat your emails as spam, particularly if you’re not getting a large number of replies to your email messages.
If you want to send bulk emails, you need a way to monitor and improve email deliverability on an ongoing basis.
3. Made for Individual Use
Outlook is made for individual use. This is fine if you only need to send one or two bulk email campaigns and won’t need any team input or collaboration features.
However, if you’re sending mass email campaigns regularly you’ll eventually need feedback from a team member, or want to add extra sending inboxes to spread the email volume across accounts.
Outlook’s limits will quickly become clear as there’s no streamlined way to have multiple people manage one account at the same time.
If you’re expecting that multiple team members will need access to your mass email campaigns, then you’ll need a standalone tool like QuickMail.
The Better Way to Send Mass Email in Outlook
The easiest way to send automated but personalized mass emails from your Outlook account is to use QuickMail. Here’s how you can set up your campaign in minutes and start reaching out to your recipients.
Step 1: Connect QuickMail to Your Outlook Inbox
The first step in the process is connecting your Outlook inbox to QuickMail. You’ll need an Office 365 account with your own domain name, rather than a personal mailbox.

Add your Outlook inbox and approve the QuickMail connection.
Step 2: Warm Up Your Inbox Before Sending Mass Emails
The next step is to warm up your email inbox.
What does that mean exactly?
Well, if you’ve never sent mass emails from your Outlook account before, there’s a chance that spam filters will flag you if you suddenly start sending hundreds of emails. To avoid this, you’ll warm up your inbox with an auto warmer. QuickMail offers a native integration for its users with MailFlow's free email warmup tool.
This generates positive email engagement on your account and will help email service providers view you as a trustworthy account.
Simply add your inbox(es) to the MailFlow Auto Warmer and choose the number of emails to send per day.

MailFlow's email warm-up process will run in the background without you needing to do anything. When it’s time to send your bulk email campaign, you’ll know you’ll land in the primary inbox.
Step 3: Build Your Automated Email Campaign
Next, it’s time to add your prospects to your QuickMail account.
You need to have your prospects formatted into a spreadsheet with columns mapped to fields like:
First name
Email address
Company name
Other custom fields unique to each prospect
When you import your prospects, you’ll make sure the fields are mapped to the correct column.

These field cans can then be used as attributes in your email templates.
When you’ve imported your prospects, the next step is to write out your e mail messages to your campaign.
You’ll write your new email template directly inside QuickMail. You can include attributes like {{prospect.first_name}} that will automatically use the information from your spreadsheet to personalize each email you send, even in bulk.

If someone doesn’t reply to your first email, you can choose to automatically follow up after a set delay.

You can write out your follow-up email steps in the campaign builder, including as many delays and follow-ups as you need.
This is a powerful way to get more replies when sending cold emails at scale, as 55% of replies come from follow-ups.
Step 4: Collaborating With Your Team
If you’re sending mass emails from Outlook without a tool like QuickMail to help, there’s no effective way to manage campaigns as a team.
QuickMail lets you add as many people to your accounts as you need, at no extra cost. You’ll only pay for new inboxes.
This means your team members can review your email copy and setup, make suggestions, and you won’t need to worry about sharing passwords or logging in and out all day.
If you want to add new sending inboxes to spread your sending volume, you can use Inbox Rotation.

This lets you run one email campaign from multiple inboxes, and it’s fully automated, so you won’t need to update the campaign settings every couple of hours.
Step 5: Getting Replies and Managing Them
When a prospect replies, you’ll get the response directly in your main Outlook inbox so you can continue the conversations.
As well as that, you can connect QuickMail to other tools in your email workflow, such as your CRM, or any other platform using Zapier.
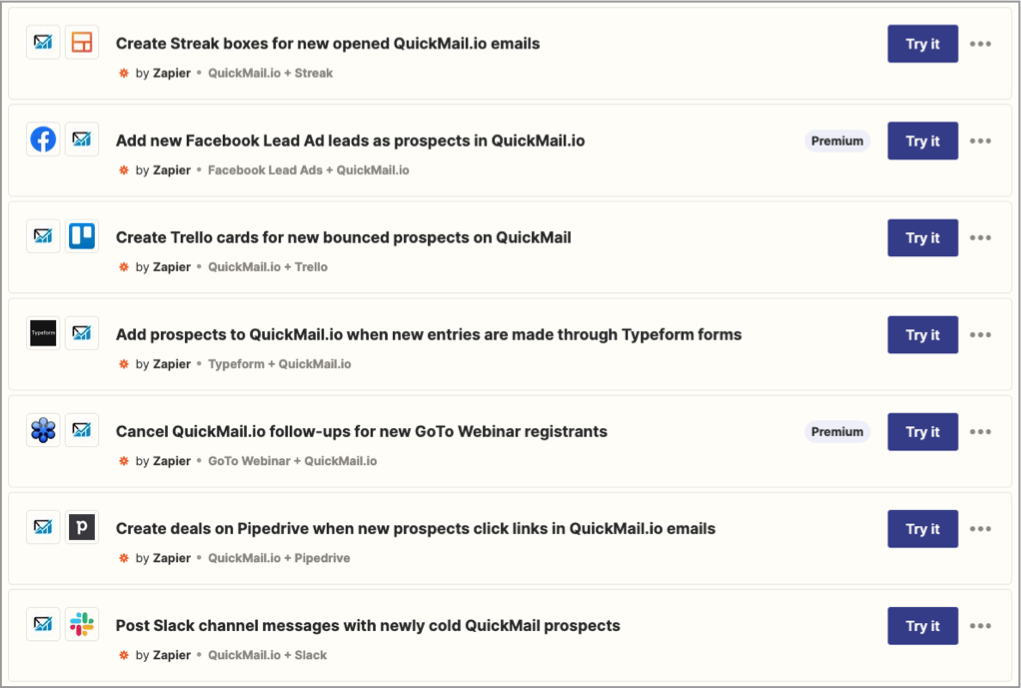
This is going to help you with your reply management process, as whenever you receive a reply, your CRM will be automatically updated with the details of the response. You’ll never forget to reply to a qualified prospect or key customer because everything will be
Wrapping Up
Sending bulk/mass emails from Outlook is possible thanks to the Outlook and Microsoft Word integration.
Despite that, there are some downsides, such as:
Can’t send follow-ups or automate the process
Doesn’t work for teams
No guarantee that your emails will land in the primary inbox
If you plan on using Outlook for sending regular bulk email campaigns, then you’ll need to connect it with an email platform like QuickMail.
This is going to let you automate the outreach process, make you more productive, and get more replies from your campaigns.
When you’re ready to start sending emails, you can try QuickMail with a 14-day free trial.


